Explained: How to Replace a Radiator
Explained: How to Replace a Radiator
Are you sitting in the cold with the heating on? Does your new décor scheme date the look of your existing radiators? Looks like you need to know how to replace a radiator!
Why Replace The Rad?
There are lots of reasons why you may want to replace a radiator.
Reduced Efficiency
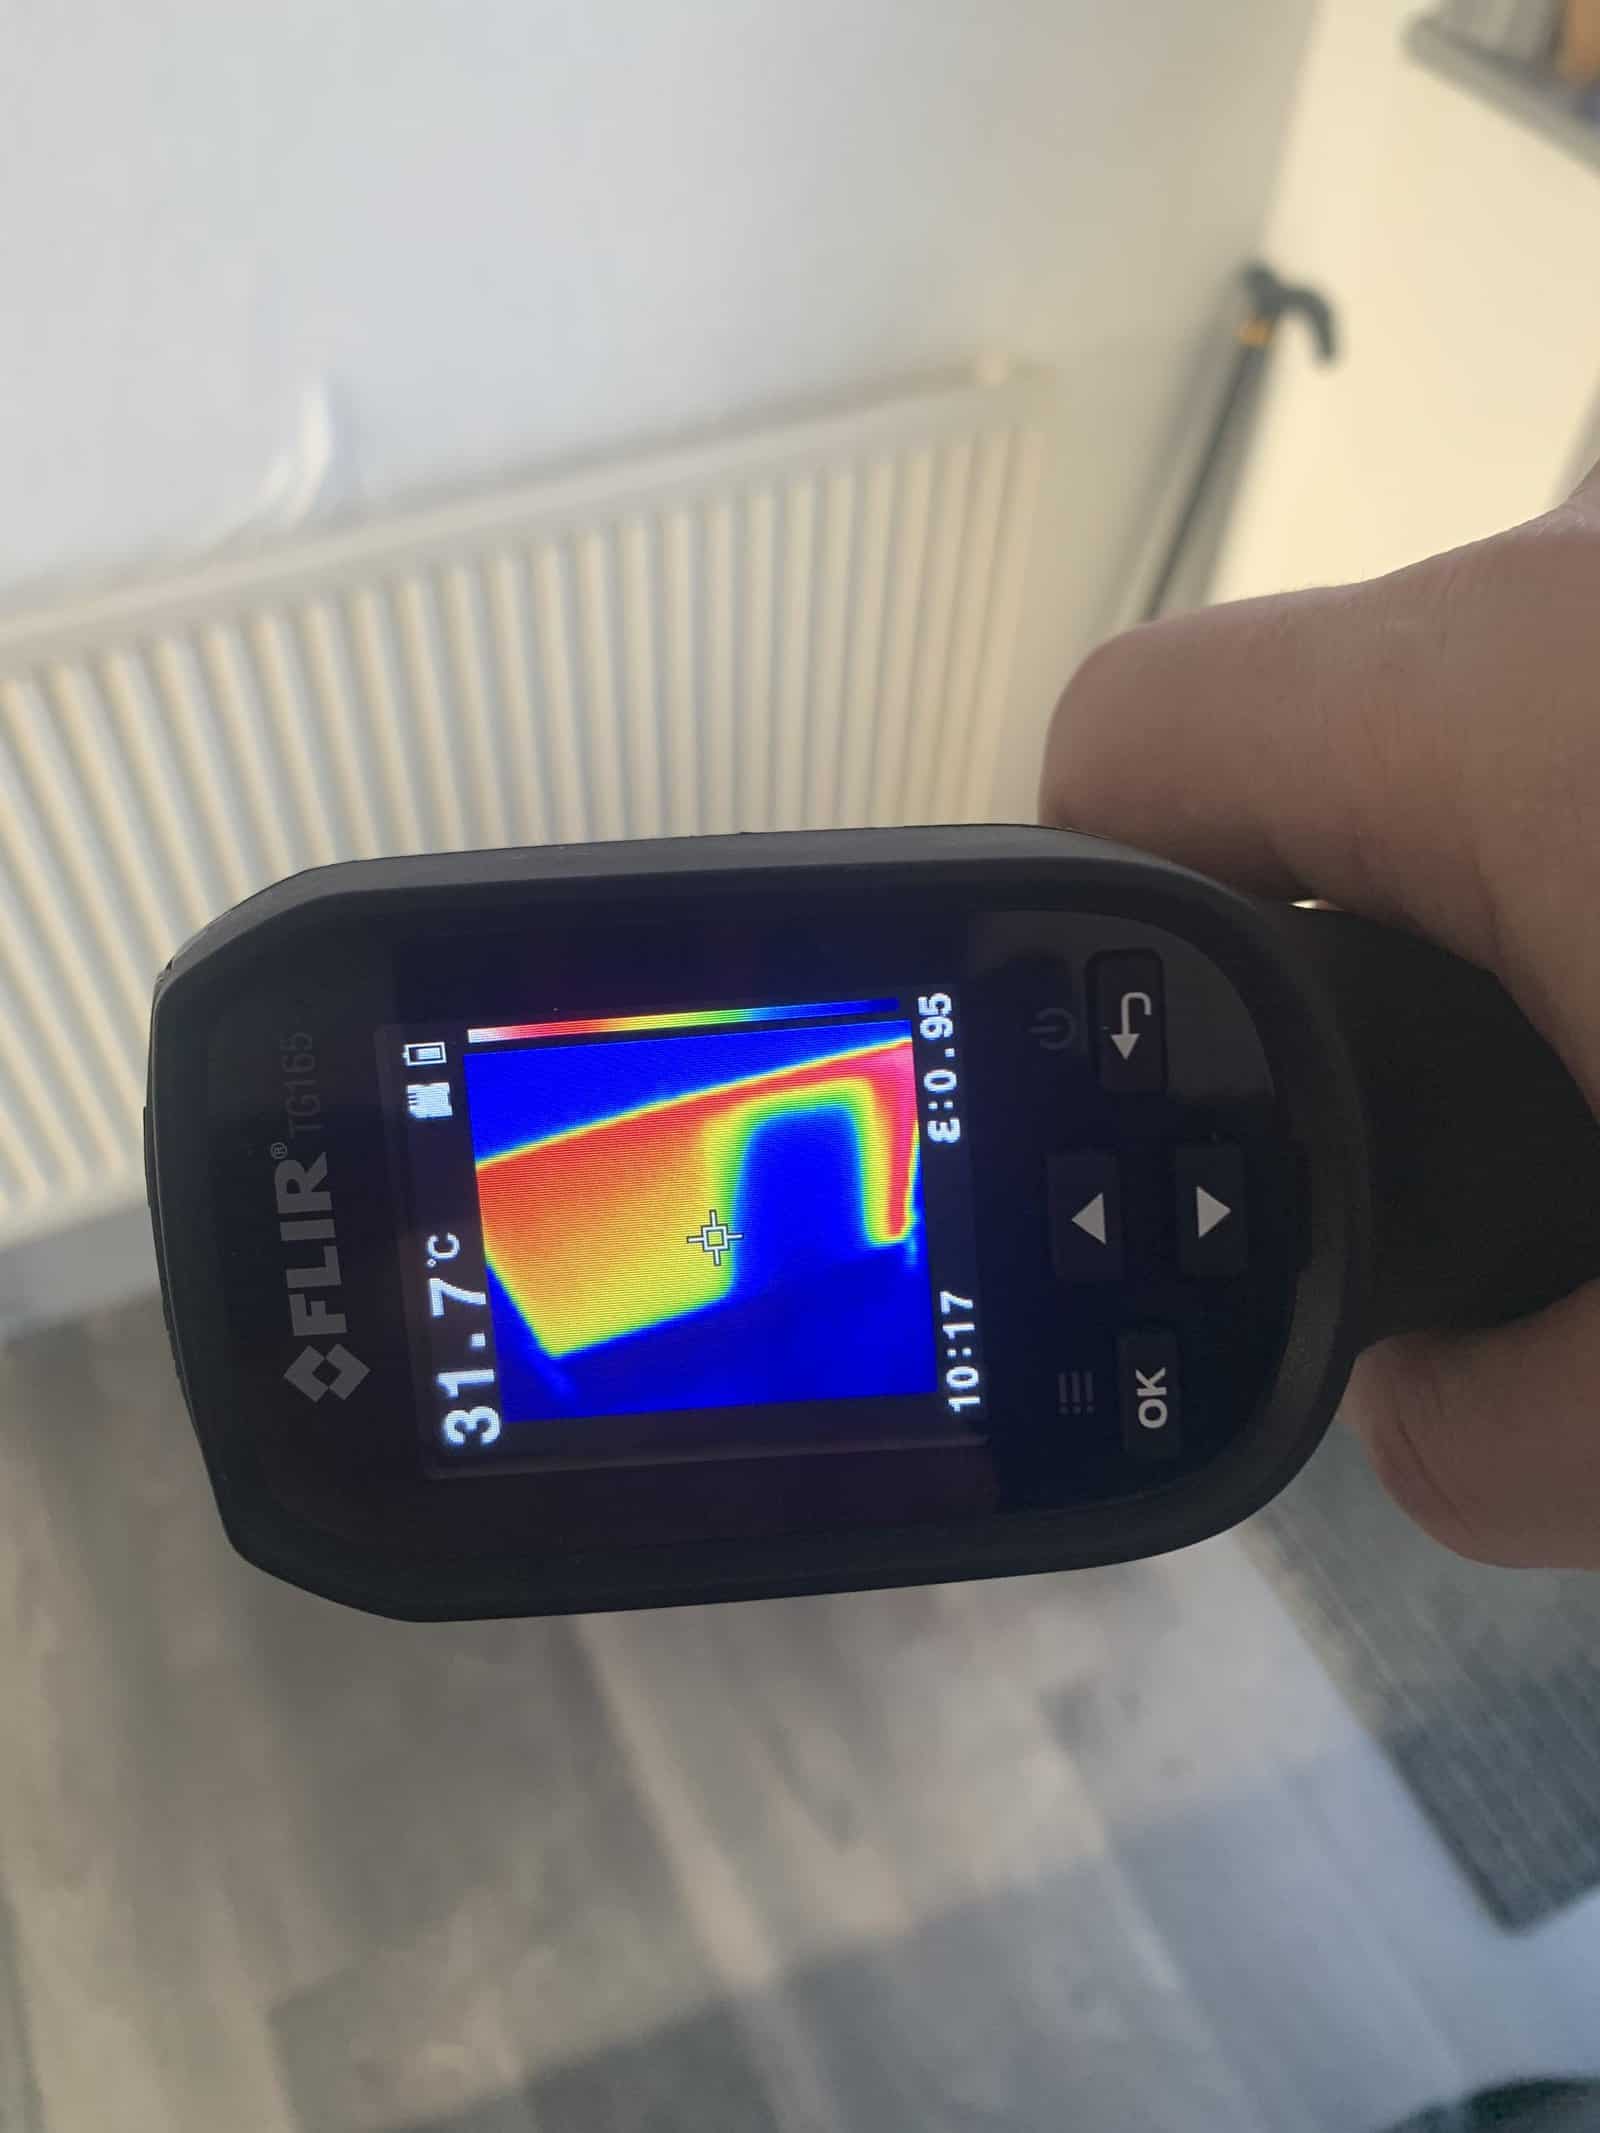
If you’re finding that some rooms just aren’t warming up, or your radiators feel tepid- it may be due to a build-up sludge inside the radiator, reducing or preventing the flow of hot water throughout. This reduction in hot water inevitably results in a less efficient radiator.
Newer radiators often have innovative features such as improved water channelling, (resulting in a larger volume of water coming into contact with the metal of the radiator) resulting in efficiency gains of up to 50%. So, you’ll not only have a warmer house, but your heating bills should see a reduction too.
It’s worth making sure that an under-performing radiator isn’t just suffering from an airlock at this point - listen for trickling or rushing sounds within the radiator itself - if you can hear this, make a dive for the ‘useful stuff’ drawer in the kitchen and find your radiator bleed key! If you’re not sure how to bleed your radiators, see our guide here.
If things don’t improve have a look at our Powerflush service to fully clear the system.
New Boiler
If you’ve just replaced your boiler, you may find it’s a good time to replace your radiators too. New, more powerful boilers can outclass the existing radiators and cause leaks due to the increased pressure.
Older radiators and pipework can also be filled with contaminants which can then travel into your new boiler - replacing the radiators at this point will eliminate this, increasing the service life of your new boiler from day one.
Leaky Rads
Radiators have a habit of self-destructing over time, as a result of the constant cycles of warming up and cooling down, causing tiny leaks which can go unnoticed. These eventually cause the surfaces of the radiator to rust to the point that they can’t be fixed.
Aesthetics
If you’re occupying or living in an older property, it’s likely that the radiators are looking a bit tired, with flaky paint or remnants of past leaks having dripped down the outside, causing an eyesore.
Or perhaps you’ve just remodelled your living room in the latest in modern décor - and that boring white rectangle mounted on the wall is causing your interior designer a headache.
Either situation is just cause for giving your central heating an aesthetic upgrade and installing newer radiators. Modern radiators come in various shapes and sizes, with various painted and metallic finishes to match your style.
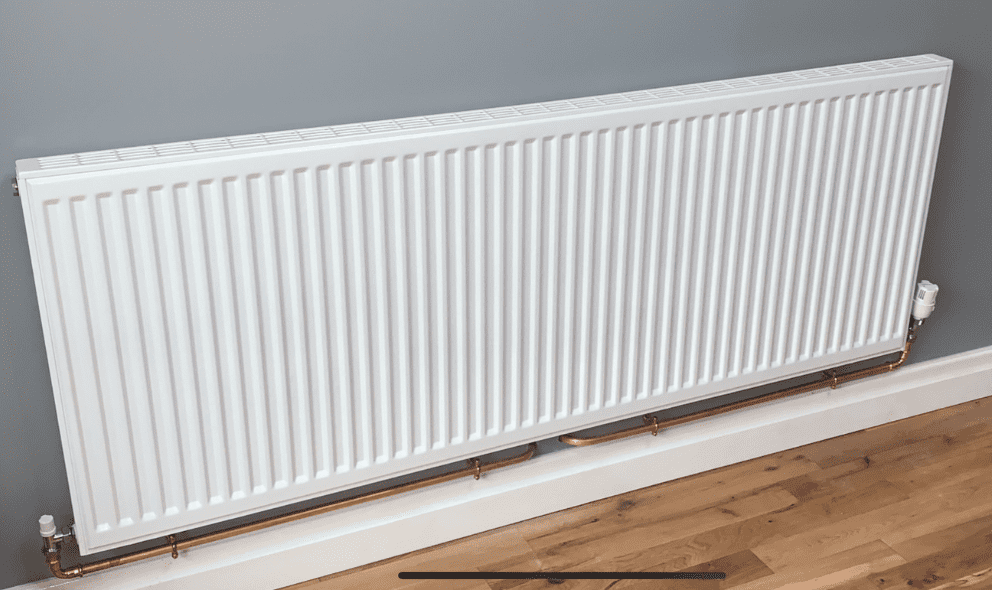
How To Replace a Radiator
Replacing a radiator is fairly easy if you intend to utilise the existing pipework and mounting brackets. Here’s the process of how to replace a radiator in these circumstances.
Assess & Prepare
Before you do anything, take a look at the wall. Make sure it is capable of supporting the new radiator.
At this point, it’s also a good shout to make sure you have all the tools and parts required for the job, which usually include:
● Two adjustable wrenches and a plumber’s wrench
● A drip tray
● Radiator bleed key/flat head screwdriver
● Cup/small container
● Cloths and towels
● PTFE tape
You may also want to have your central heating system flushed to remove any sludge and grime, preventing it from entering your shiny new radiator. For this, we recommend our Powerflush service. You can learn all about this service, here.
Cut Supply
Next, you’ll need to switch off your boiler and isolate the supply to your radiator. There are lots of different types of isolator valve; here’s what you need to do for each of the most common types:
● Manual valves: turn clockwise until shut
● Thermostatic valves: turn the top to zero or the off position
● Lockshield valves: remove the upper plastic cover and rotate the square shaft clockwise
When isolating the supply, be sure to count and record the number of turns. This enables you to reset the new radiator to the same flow rate when re-opening the valve after replacing the radiator.
Drain
Place a tray such as an old takeaway dish under the valve to catch any water as it drains. Use a spanner or wrench to unscrew the radiator from the valve.
Hold the valve firm when unscrewing the fittings to prevent it from turning and buckling the pipe that it is attached to. If your radiator is connected to flexible polypipe, clamping the valve is a necessity. You can do this with a plumber’s wrench, additional spanner, or dare we say it…mole grips.
Wait and Bleed
Place your empty drip tray under the open end of the radiator.
Take your bleed key and open the valve at the top of the radiator, allowing water to drain from the bottom. When your drip tray is full, close the bleed valve. Catch any water while you are emptying your drip tray with a towel.
Repeat this process until the radiator is empty and lift the closed end of the radiator to tip any remaining water into your drip tray.
You’re halfway through the job at this point - who knew learning how to replace a radiator would be this easy?
Finally, place some old rags into the open end of the radiator to catch any remaining water.
Removal
Unscrew the valve fittings at the opposite end of the radiator and place rags or towel into the outlet. You can now carefully lift the radiator from the mounting brackets attached to the wall.
Replacement
You may need to insert connectors into each end of the radiator to connect to the valves, if it hasn’t already had them fitted from the factory. Before doing this, wrap the male threads of the connectors with your PTFE tape and screw into the radiator, being careful not to cross the threads. Don’t over tighten these either as you may strip the threads of the radiator - game over.
If you are replacing your radiator with like-for-like, or one with identical mountings and fittings, you can go ahead and place the new radiator onto the old wall mounts.
Remove any old PTFE tape from the original valves and re-wrap.
Tighten the radiator fittings onto the valve - again, you may need to clamp the valve body to prevent it twisting and buckling the pipework.
Time For A Refill
Once everything is reconnected, fully close the bleed valve, and open the valves at either end of the radiator. Check for leaks or drips while doing this and rectify accordingly.
Finally, you’ll need to remove any air trapped in the top of the radiator. To do this, unscrew the bleed valve no more than a single turn. You’ll hear a hiss as the air is forced out of the radiator. Be ready with a cup to catch any water as it ejects from the valve. Once you have a steady trickle of water from the valve, close it. Make sure you don’t over tighten the bolt.
Congratulations! You’ve successfully learned how to replace a radiator!
Upgrading or Styling-Up
So far, you’ve learned how to replace a radiator when the mounting brackets and plumbing fittings are identical, which may be the case if merely replacing like-for-like when your old radiator is no longer serviceable.
If you’re upgrading to a larger radiator, or different style such as vertical or a towel rail, the job becomes more complicated, and you may need to consider the following:
● Can the wall sufficiently support a larger radiator?
● Studs and noggins need to be located prior to fitting to hollow walls
● The feed and outlet pipework will likely need repositioning to accommodate the dimensions of the new radiator - are you up to this job?
● You’ll need to make sure your boiler has the capability to deal with the new system if adding additional or larger radiators
● Some leaks can take a little while to show themselves so placing a drip tray under each valve will keep these from damaging the floor underneath. Check back on the radiator periodically after fitting to see if there are any drips.
To Conclude…
There you have it - how to replace a radiator. In the most straightforward of instances, this is an easy task which any keen DIYer can carry out. For your radiator upgrades, however, it may be better to call in the experts - in this case, we’re here to help.